
Weeping Tile - Complete Installation & Replacement Guide
What is Weeping Tile? Toronto’s Foundation Drainage Experts Explain
Weeping tile is your home’s first line of defense against water damage. These perforated drainage pipes, installed around your foundation footings, collect and redirect groundwater away from your basement. When weeping tile systems fail - through age, clogging, or damage - your basement becomes vulnerable to flooding, structural damage, and thousands in repairs.
Modern weeping tile systems have evolved far beyond the clay “tiles” of the past. Today’s solutions use advanced materials and design principles to provide decades of reliable protection. Whether you’re dealing with a failed old system or need new installation, understanding your options can save your foundation and your investment.
This comprehensive guide covers everything about weeping tile systems - how they work, why they fail, installation methods, costs, and how to choose the right solution for your Toronto home.
What Is Weeping Tile?
Understanding Foundation Drainage Systems
Historical Context: Originally made from clay tiles with gaps for water entry, modern “weeping tile” refers to any perimeter drainage system around foundations, regardless of material.
Modern Weeping Tile Definition: Weeping tile (also called drainage tile or perimeter drain) consists of perforated pipes installed around foundation footings that collect groundwater and direct it away from the building. Modern weeping tile systems typically connect to a sump pump or storm sewer for water disposal.
System Components:
| |
How Weeping Tile Works:
- Groundwater rises toward foundation
- Water enters weeping tile through perforations
- Flows through weeping tile pipe by gravity
- Weeping tile directs water to sump pit or sewer
- Pumped/drained away from home protecting foundation
Critical Functions:
- Relieves hydrostatic pressure
- Prevents water accumulation
- Protects foundation integrity
- Reduces basement moisture
- Prevents soil erosion
Signs You Need Weeping Tile Service
Recognizing System Failure
Obvious Signs:
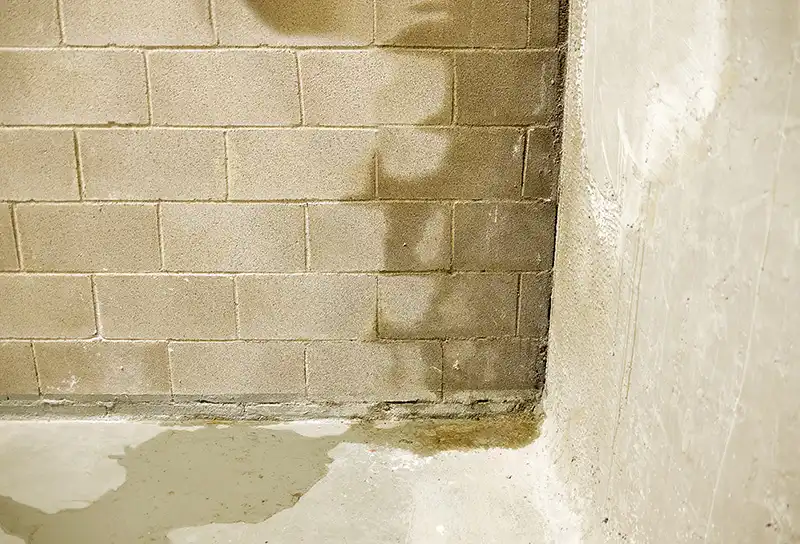
- Water seeping through floor/wall joint
- Puddles after rain
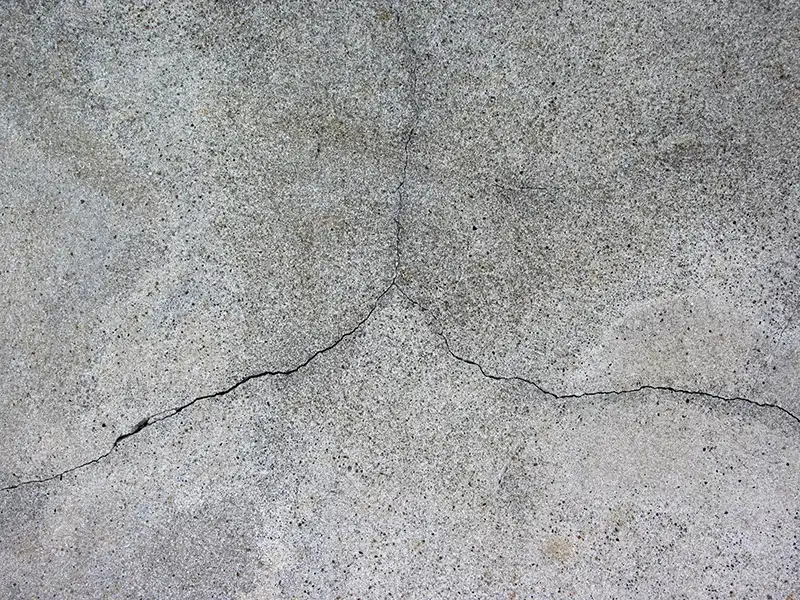
- Visible foundation cracks
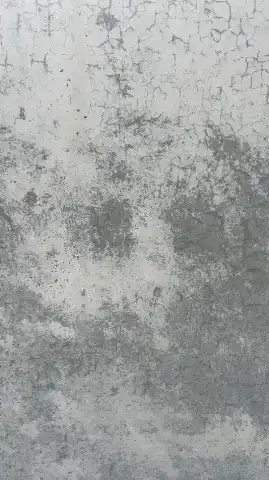
- Efflorescence on walls
- Musty basement odors
Subtle Indicators:
- Increased humidity
- Bugs/insects in basement
- Peeling paint on walls
- Warped wooden materials
- Higher water bills
System Age Factors:
| |
Testing Your System:
- Visual Inspection (if accessible)
- Water test during rain
- Camera inspection
- Hydrostatic pressure test
- Professional assessment
Interior vs Exterior Systems
Choosing the Right Approach
Exterior Weeping Tile
How It Works:
- Installed outside foundation walls
- At footing level
- Prevents water entry
- Original/preferred method
Advantages:
- Stops water before entry
- Protects foundation
- No interior disruption
- Addresses root cause
- Maximum protection
Disadvantages:
- Requires excavation
- Higher initial cost
- Landscape disruption
- Weather dependent
- Longer installation
Best For:
- New construction
- Major renovations
- Severe water issues
- Long-term solution
- Maximum protection needed
Interior Weeping Tile
How It Works:
- Installed inside basement
- Along perimeter walls
- Channels water to sump
- Manages water after entry
Advantages:
- No excavation required
- Year-round installation
- Lower cost
- Faster completion
- Minimal disruption
Disadvantages:
- Water enters foundation
- Requires sump pump
- Some floor removal
- Doesn’t protect walls
- Ongoing pump maintenance
Best For:
- Finished basements
- Budget constraints
- Winter installations
- Inaccessible exteriors
- Immediate relief needed
Installation Process
Professional Methods & Standards
Exterior Installation
Step 1: Excavation
- Mark utilities first
- Excavate to footing
- 2-3 foot working width
- Shore if necessary
- Protect property
Step 2: Preparation
- Clean foundation wall
- Inspect for damage
- Repair cracks/defects
- Apply waterproofing
- Install membrane
Step 3: Drainage Installation
| |
Step 4: Connection
- Connect to sump/sewer
- Ensure proper slope (1%)
- Install cleanouts
- Test flow rate
- Verify function
Step 5: Backfill
- Layer by layer
- Proper compaction
- Drainage materials
- Restore grade
- Replace landscaping
Interior Installation
Step 1: Preparation
- Remove perimeter flooring
- Cut concrete precisely
- Excavate to footing
- Remove debris
- Prepare surface
Step 2: System Install
- Lay gravel base
- Install pipe system
- Connect to sump
- Add inspection ports
- Test thoroughly
Step 3: Restoration
- Pour new concrete
- Seal edges properly
- Waterproof walls
- Install vapor barrier
- Finish flooring
Modern Materials & Technology
Evolution of Drainage Systems
Pipe Materials:
PVC (Polyvinyl Chloride):
- Rigid, durable
- Smooth interior
- 100+ year lifespan
- Best flow rates
- Professional standard
Big-O (Corrugated HDPE):
- Flexible installation
- Good for curves
- 50-75 year lifespan
- Economical option
- Residential common
Advanced Features:
Filter Sock Systems:
- Pre-wrapped pipe
- Prevents soil entry
- Maintains flow
- Reduces clogging
- Extends lifespan
Drainage Boards:
- Wall protection
- Channels water down
- Relieves pressure
- Air gap benefit
- Modern standard
Smart Monitoring:
- Water level sensors
- Flow rate monitors
- Clog detection
- App connectivity
- Preventive alerts
Investment Considerations
Understanding Your Investment
Weeping tile installation is a crucial investment in your home’s foundation protection. Whether you choose interior or exterior installation, proper drainage prevents costly water damage and preserves your home’s structural integrity.
Investment Factors:
- Foundation depth and perimeter
- Soil conditions and water table
- Access limitations
- Existing damage repairs
- Local permit requirements
- Warranty coverage level
- Additional waterproofing needs
Additional Considerations:
- Landscaping restoration
- Hardscaping repairs
- Utility relocation needs
- Permit and inspection fees
- Temporary accommodation if needed
For detailed pricing information tailored to your specific situation, please consult our comprehensive cost guide.
Common Problems & Solutions
Troubleshooting Drainage Issues
Problem: Clogged System
- Symptoms: Slow drainage, backups
- Causes: Sediment, roots, iron ochre
- Solution: High-pressure jetting
- Prevention: Annual maintenance
Problem: Collapsed Pipe
- Symptoms: Complete failure
- Causes: Age, soil movement
- Solution: Full replacement
- Prevention: Regular inspections
Problem: Root Intrusion
- Symptoms: Recurring clogs
- Causes: Tree/shrub roots
- Solution: Root cutting, pipe repair
- Prevention: Root barriers
Problem: Iron Ochre
- Symptoms: Red/orange sludge
- Causes: Bacterial growth
- Solution: Special cleaning, treatment
- Prevention: Proper pipe selection
Problem: Insufficient Capacity
- Symptoms: Overwhelmed during storms
- Causes: Undersized system
- Solution: Additional drainage
- Prevention: Proper sizing
Maintenance Requirements
Protecting Your Investment
Annual Tasks:
- Inspect sump pump
- Test backup power
- Check discharge lines
- Clear gutters/downspouts
- Monitor for signs
Professional Maintenance:
| |
DIY Monitoring:
- Mark water levels
- Photo document changes
- Note weather patterns
- Track pump cycles
- Watch for warnings
Recommended Maintenance:
- Annual professional inspection
- Camera inspection when needed
- Professional cleaning service
- Prompt minor repairs
Warning Signs:
- Pump runs constantly
- Water marks rising
- Slow drainage
- Unusual odors
- Visible sediment
Building Code Requirements
Toronto Standards & Compliance
Current Code Requirements:
- Minimum 4" diameter pipe
- 1% slope minimum
- Cleanout access required
- Connection to approved outlet
- Permit required for work
Grandfathering Rules:
- Existing systems may remain
- Must upgrade if renovating
- Full compliance for additions
- Safety upgrades mandatory
- Consult local authority
Permit Process:
- Submit application
- Provide drawings
- Pay fees
- Schedule inspections
- Obtain approval
Inspection Points:
- Before backfill
- Final grading
- Pump installation
- Electrical connections
- Final approval
Warranty & Protection
Professional weeping tile installation comes with comprehensive warranty coverage to protect your investment. Our transferable warranties ensure your drainage system performs reliably for decades. Contact us for complete warranty terms and coverage details.
- Electrical components
How Weeping Tile Works With Other Systems
Creating Complete Water Management
Weeping Tile + Sump Pump:
- Weeping tile collects water
- Sump pump removes water
- Both needed for complete system
- Pump alone insufficient
- Tile without pump may flood
Weeping Tile + Waterproofing:
- Complementary systems
- Tile manages water
- Waterproofing prevents entry
- Both recommended
- Address different issues
Weeping Tile + Surface Drainage:
- Surface handles rain
- Tile handles groundwater
- Both important
- Different water sources
- Complete protection needs both
For detailed comparisons between weeping tile and French drains, see our comprehensive comparison guide.
Choosing a Contractor
Essential Qualifications
Must-Have Credentials:
- Licensed and insured
- WSIB coverage
- Warranty provider
- Local experience
- Established business
Red Flags:
- No written quotes
- Pressure tactics
- Cash only
- No permits offered
- Unrealistic promises
Questions to Ask:
- Installation method?
- Materials used?
- Warranty terms?
- Timeline?
- Project timeline?
- References?
Verification Steps:
- Check license status
- Verify insurance
- Read reviews
- Visit past projects
- Get multiple quotes
Case Studies
Real Toronto Projects
Case 1: 1950s Bungalow - Clay Tile Failure
- Problem: Complete system failure, regular flooding
- Solution: Full exterior replacement with PVC
- Solution: Full exterior replacement implemented
- Result: Dry basement, increased home value
- ROI: Protected foundation from major damage
Case 2: 1990s Home - Partial Clog
- Problem: Slow drainage, minor seepage
- Solution: Interior system with sump pump
- Solution: Interior system successfully installed
- Result: Immediate improvement
- Lesson: Caught problem early
Case 3: Commercial Building - High Water Table
- Problem: Persistent water, pumps overwhelmed
- Solution: Dual interior/exterior systems
- Solution: Comprehensive dual system installed
- Result: Complete water control
- Benefit: Protected valuable commercial inventory
Financing Options
Making Protection Affordable
Payment Options:
- 0% interest for 12 months
- Extended terms available
- Credit cards accepted
- Insurance coverage possible
- Payment plans
Investment Benefits:
- Prevents extensive foundation damage
- Increases home value by 5-10%
- Eliminates recurring repair costs
- Provides lasting peace of mind
- Protects your largest investment
For specific pricing tailored to your home’s needs, consult our detailed cost guide.
Insurance Considerations:
- Some damage covered
- Prevention not covered
- Document everything
- Work with adjuster
- Upgrade coverage after
The Bottom Line
Your Foundation’s Future
Key Takeaways:
Weeping Tile = Foundation Protection This isn’t optional maintenance - it’s essential infrastructure protecting your largest investment.
Early Action Saves Money Every year of delay increases damage exponentially. Water always wins.
Professional Installation Matters Proper installation means decades of protection. Poor work means recurring problems.
Investment Perspective:
- Ignore failing system: Catastrophic damage
- Patch problems: Temporary relief only
- Replace properly: Permanent protection
Get Started Today
Schedule Your Free Drainage Assessment
Protect Your Foundation Permanently
Expert weeping tile installation with lifetime warranty
Don’t wait for the next storm to test your foundation drainage. Professional weeping tile installation provides permanent protection and peace of mind.