
Mold-Free Basement Construction Guide
Complete guide to building mold-free basements using steel studs, rigid foam insulation, and smart vapor management. Learn why traditional methods fail and how modern materials create permanently healthy basement spaces.
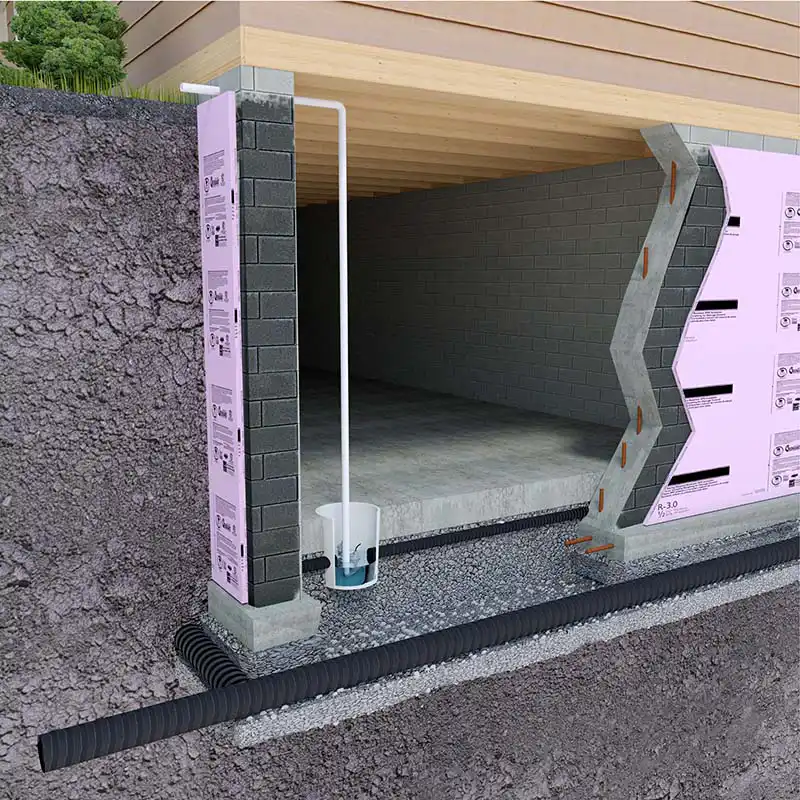
The Mold-Free System
Essential Components:
- Steel studs (no mold food)
- Rigid foam insulation (moisture resistant)
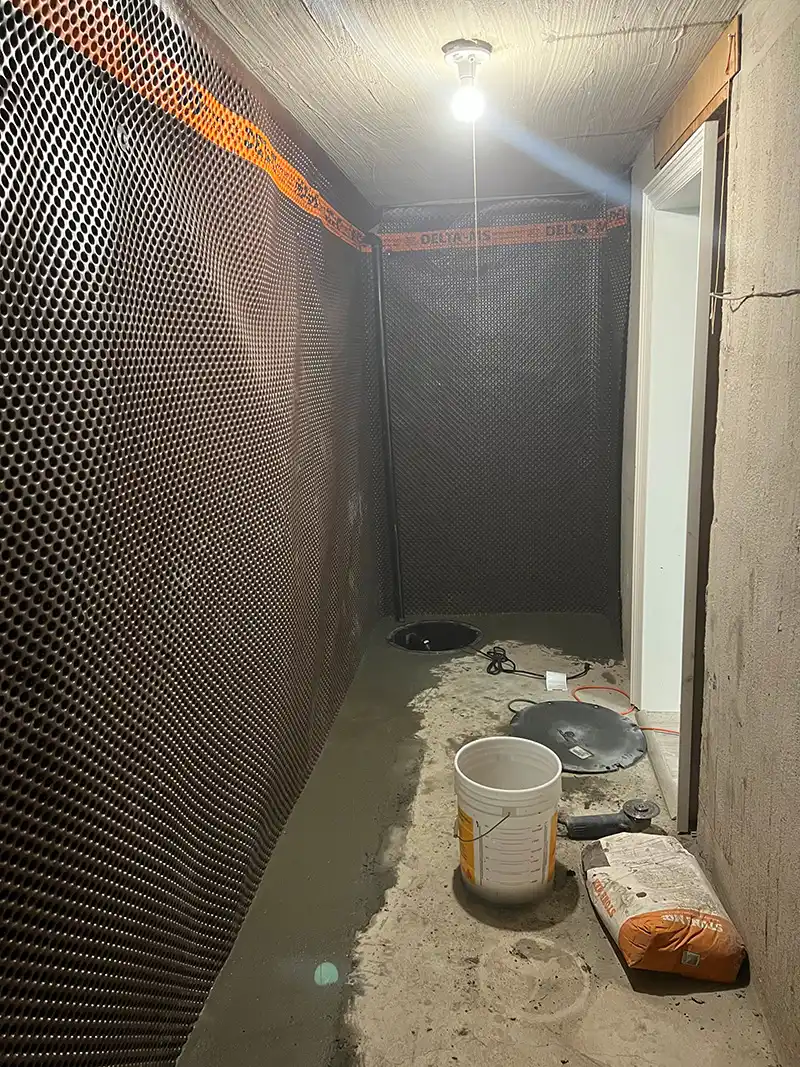
- Smart vapor retarders (adaptive)
- Mold-resistant drywall
- Proper humidity control (30-50%)
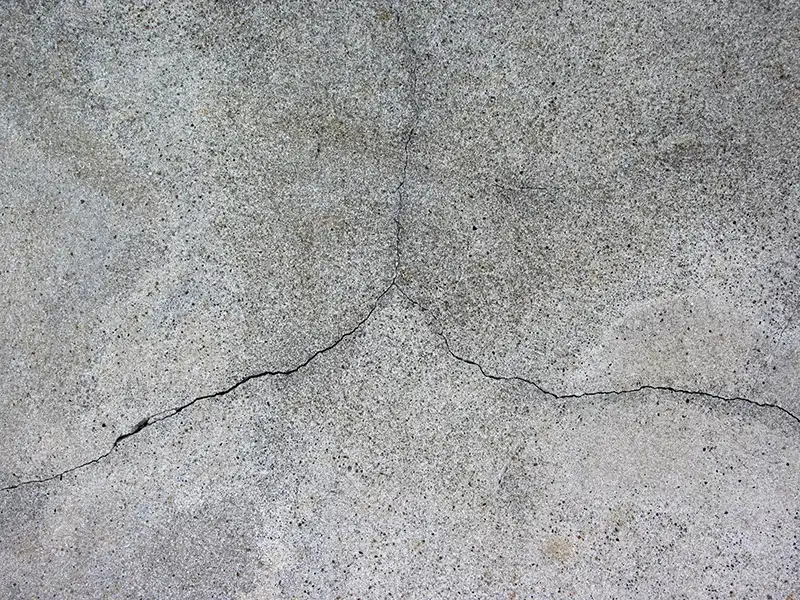
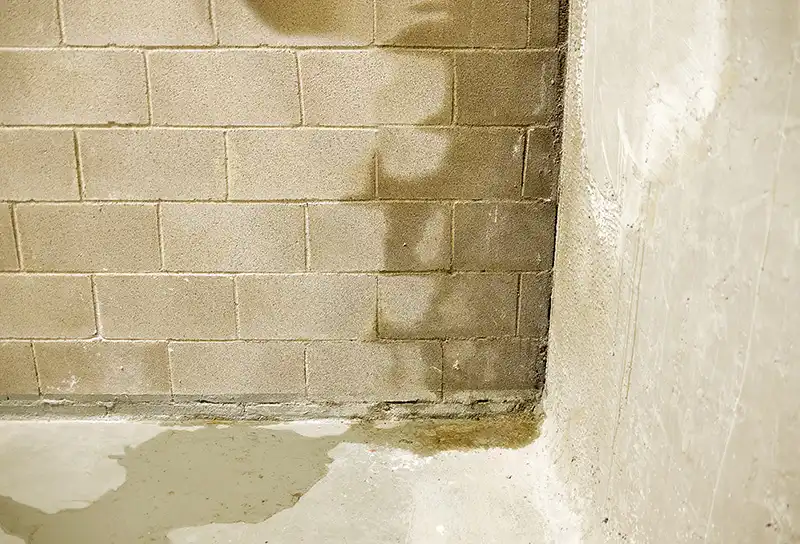
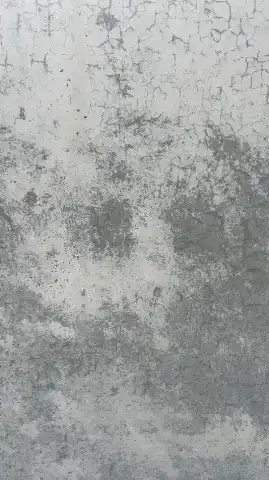
Why Traditional Methods Fail
Wood studs + fiberglass insulation + poly vapor barrier = mold growth
The Problem:
- Wood absorbs moisture
- Insulation traps water
- Vapor barriers create condensation
- Mold grows in 24-48 hours
Cost Comparison
- Traditional System: $4-5/sq ft (plus future mold remediation)
- Mold-Free System: $6-8/sq ft (one-time investment)
- Difference: $2-3/sq ft
- Value: Permanent health protection
Service Areas
Service Areas: Toronto, North York, Scarborough, Etobicoke, East York, York, Mississauga, Brampton, Vaughan, Richmond Hill, Markham, and surrounding areas.
Building a truly mold-free basement requires the right materials, proper installation, and ongoing moisture control. Don’t compromise on your family’s health or your investment. Choose materials that cannot support mold growth and build a basement that lasts forever.